
After GreenLight has run, you are prompted with a list of issues in a GreenLight Report table that you may wish to selectively investigate further. To do so:

If the problem is related to an object on the page then GreenLight will take you to the position in the InDesign document and select the problem area.
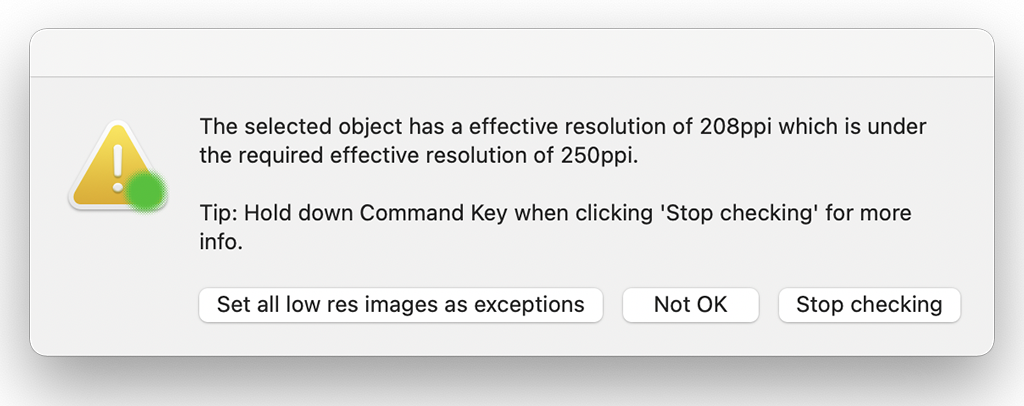
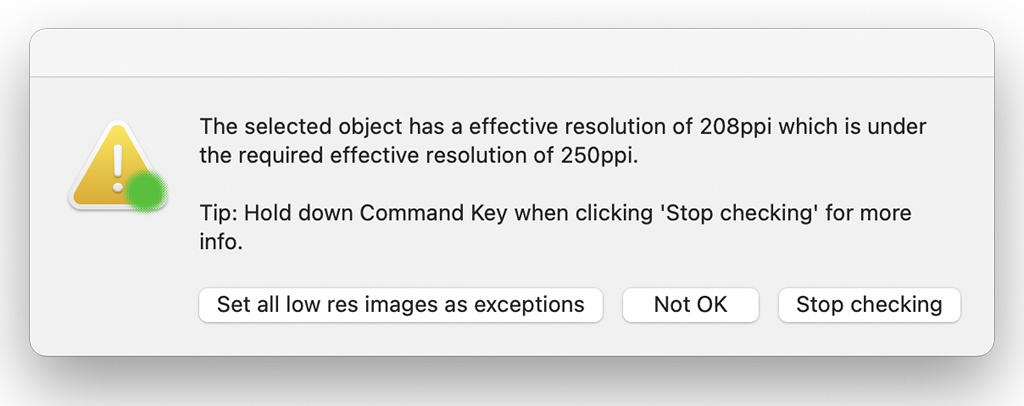
An on-screen message is then shown with a brief description of the problem and a link to the accompanying GreenLight online Knowledge Base article containing information on what the problem is and how to fix it.

If appropriate, other options can also be shown. For example, to open all missing font names in a text file.
If the document has been updated, and the problem no longer exists, the row will be coloured green the next time GreenLight is run, either when running with a single row selected or when running GreenLight across the entire document.
When a ‘yes’ row is selected you are taken to the info page for that check on the Circular Software Knowledge Base.

Some checks may be based on design guidelines but are not strictly required for successful production. In this case some checks may have an exception allowed.
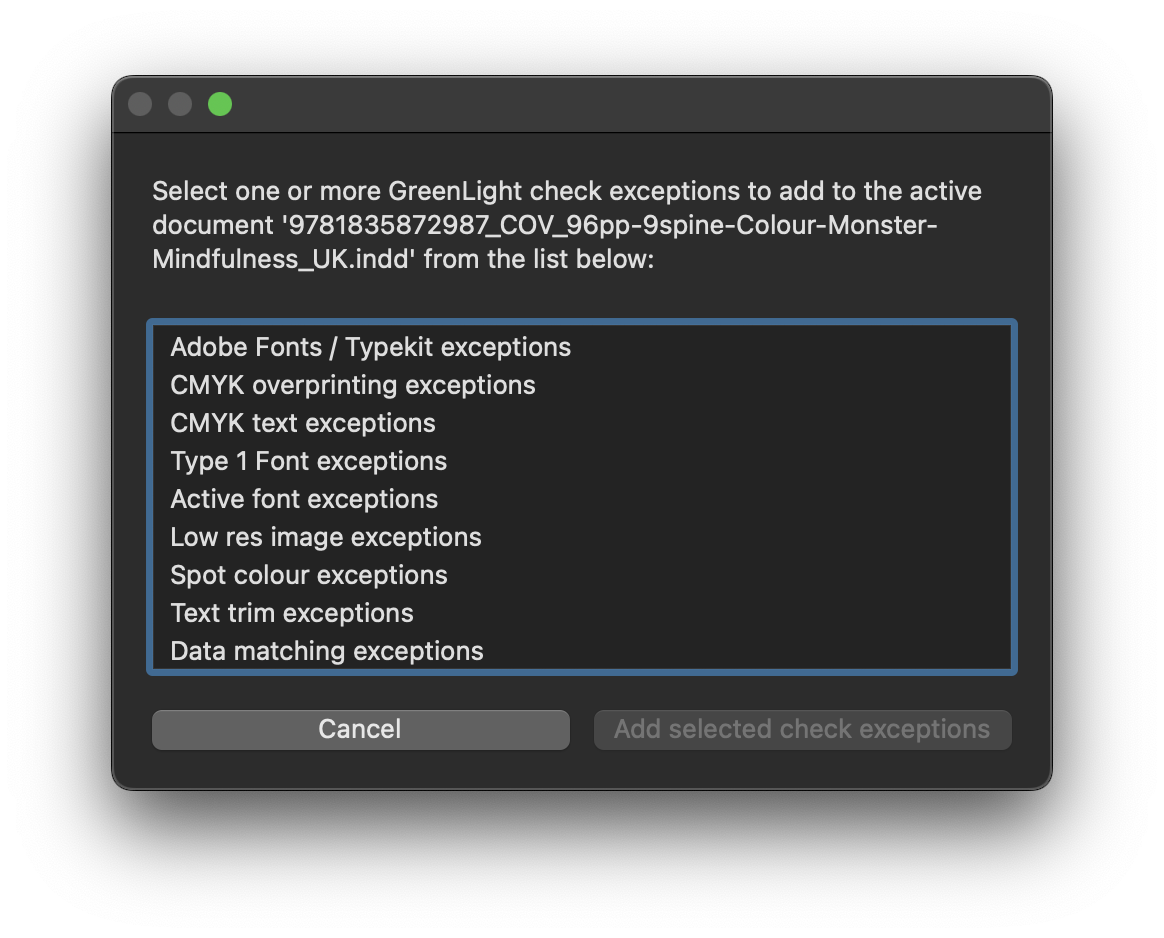
To make a check exception select GreenLight Run menu > Add / Remove Check Exceptions and choose from the displayed list.
Tip: Hold the command key to multi select checks in this list.

An example of this is image resolution. Every good designer knows the value of using high resolution images, especially for print. However in some circumstances it is not possible to source a truly high resolution version of an important image.

In this case, and if allowed by the Admin User when setting up the checklist, it may be possible to mark a low resolution image as an acceptable exception.
To keep track of allowed exceptions these are listed at the bottom of the GreenLight Report.

Running the GreenLight check with exceptions allowed will disregard the resolution of images already marked as OK.
To remove one or more exceptions currently applied to a docuement, run the same command GreenLight Run menu > Add / Remove Check Exceptions to see a confirmation of the checks currently excepted, and select the ones to remove.
Tip: Hold the command key to multi select checks in this list.

After a change has been made to an InDesign document the GreenLight Report is no longer up-to-date. The GreenLight Report does not update itself, it needs to be re-run.
Repeat the running of the GreenLight process by clicking the GreenLight Mini Panel, or choosing the Greenlight Run menu > Run GreenLight to remove the old GreenLight Report and make a fresh one.


Click on the GreenLight Mini Panel, the GreenLight Main Panel button, use the keyboard shortcut (Opt + G) or choose GreenLight Run menu > Run GreenLight on document to run GreenLight.

Running the GreenLight process will perform each of the checks in the active checklist on the active InDesign document.

Run the GreenLight process across multiple documents by choosing GreenLight Run menu > Run GreenLight on Folder.
If you have documents open you will be prompted to first close them before running this command.
Navigate to a folder on your Mac to run GreenLight on all InDesign documents within. InDesign documents can be within sub folders.
Each InDesign document is then opened in turn, the GreenLight process run and the document then saved and closed.

As the GreenLight process is run the GreenLight Report, a table of results and additional information, is created and added to the pasteboard outside the first page of the InDesign document.
The last row of the GreenLight Report panel shows the name of the checklist and the date and time that GreenLight was run along with word count, overall image file sizes and confirming the paper type applied and any exceptions made.


The greenlit status proves that a document has been set up in the required and approved way according to all the checks for the current checklist.
Several indicators help you and others know when documents have achieved the green light status.


Even those without InDesign on their Mac have a way to visually check whether a batch of supplied files have the green light status: