Finding issues
GreenLight helps you quickly find and fix issues it identifies in your documents.
After GreenLight has run, you are prompted with a list of issues in a GreenLight Report table that you may wish to selectively investigate further. To do so:
- With the InDesign Type Tool chosen, hover your cursor to the left of the row you wish to investigate. When the cursor changes to an arrow pointing to the row, click to select a row in the table.
- With the row selected, run GreenLight again to run this single check again and to also explain why the check result was false (no).

If the problem is related to an object on the page then GreenLight will take you to the position in the InDesign document and select the problem area.
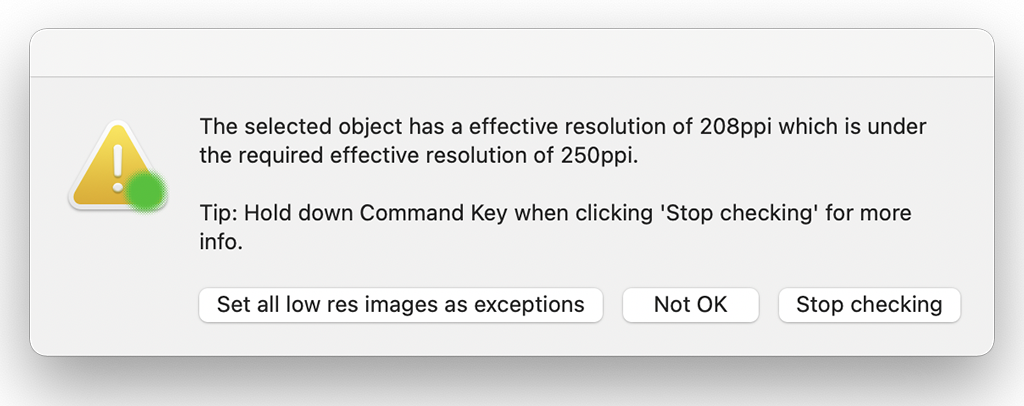
An on-screen message is then shown with a brief description of the problem and a link to the accompanying GreenLight online Knowledge Base article containing information on what the problem is and how to fix it.

If appropriate, other options can also be shown. For example, to open all missing font names in a text file.
If the document has been updated, and the problem no longer exists, the row will be coloured green the next time GreenLight is run, either when running with a single row selected or when running GreenLight across the entire document.
When a ‘yes’ row is selected you are taken to the info page for that check on the Circular Software Knowledge Base.


