

When using CMYK images in a colour-managed workflow, images should either have matching colour profiles embedded or have no profiles embedded and so assume the colour profile of the document they are placed into.

You can fix this problem by:
Clicking the ‘Open details in a text file’ button opens a report that also includes the mismatching profile used on each image.

By default when placing CMYK images into InDesign the attached colour profiles are ignored and InDesign document CMYK colour profiles are used instead. This prevents changes to the CMYK colour numbers when outputting to PDF or printing, and so helps maintain consistent colour.
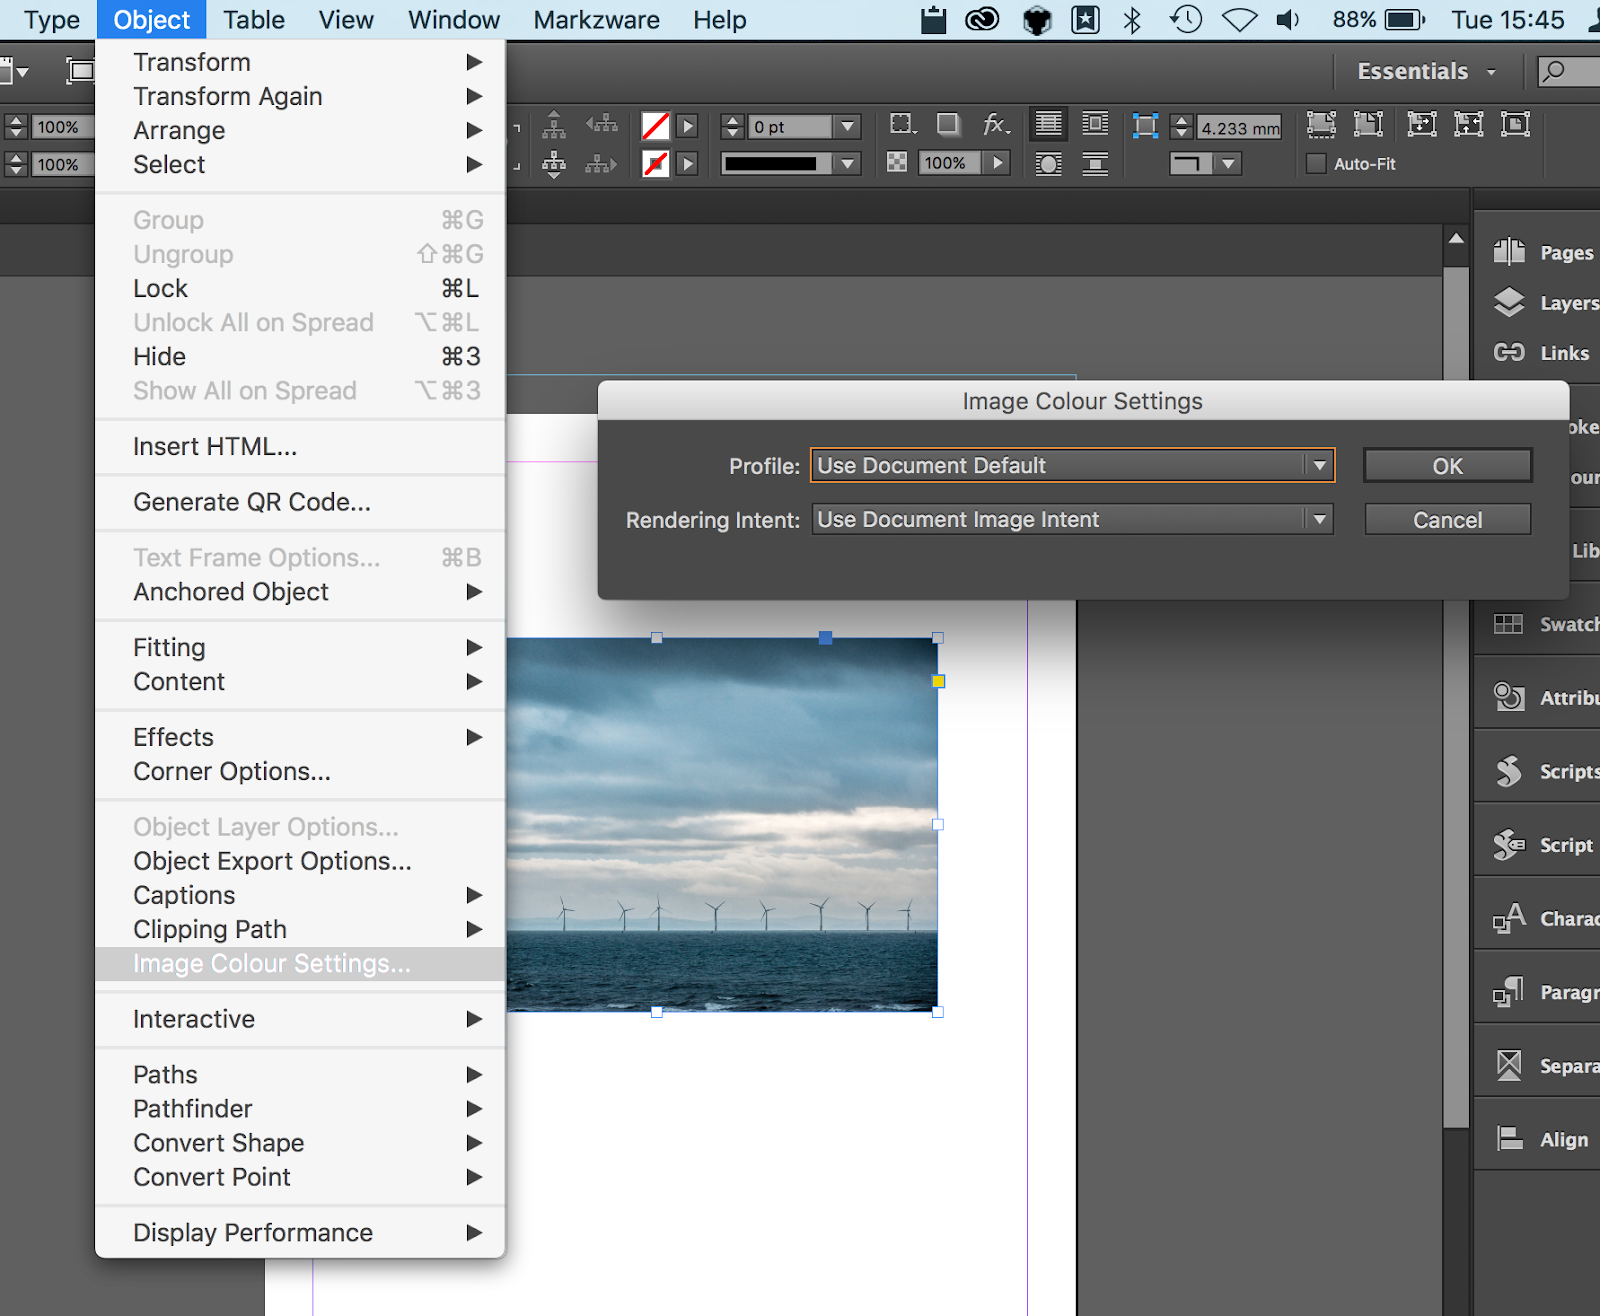
Unless you are intentionally using different CMYK colour profiles, it is recommended that the colour profiles are set to ‘Use Document Default’. If not, you can fix this problem by selecting the image and choosing Object>Image Colour Settings:
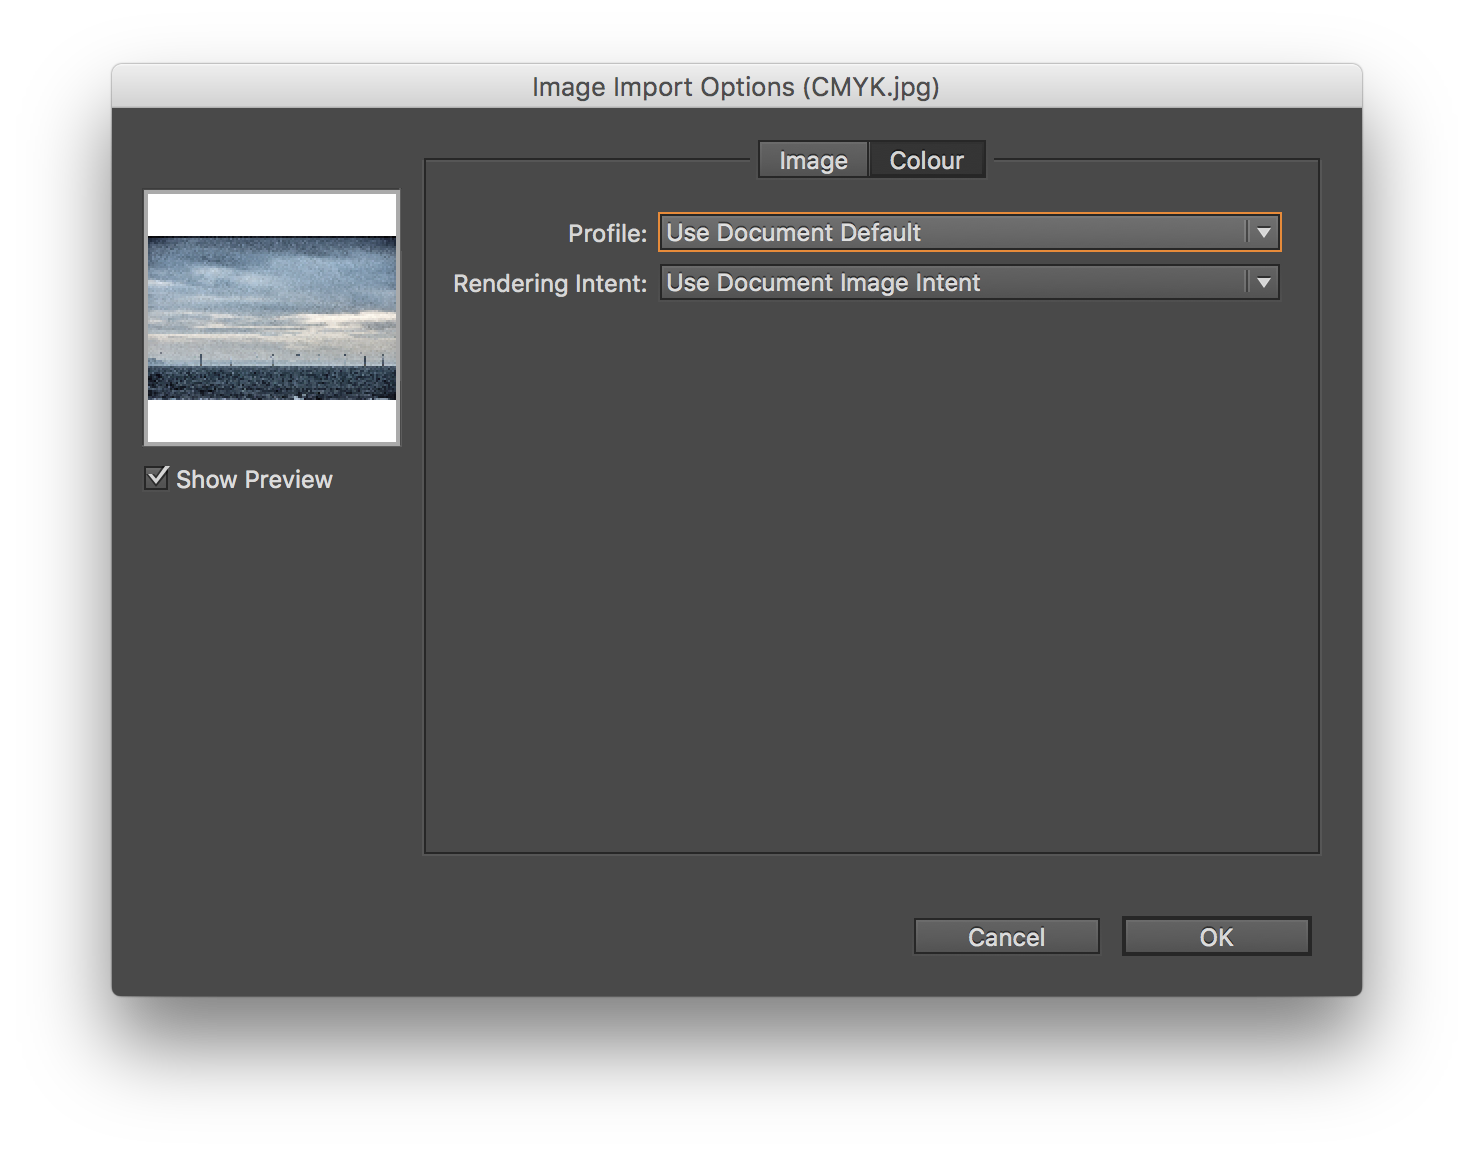
For some versions of InDesign you may also want to change the way that image colour profiles are associated when placing CMYK images: using InDesign’s File menu > Place, choose a CMYK image and select ‘Show Import Options’. Click ‘Colour’, then choose the profile option ‘Use Document Default’ and click OK, which sets the default for subsequent placing of CMYK files.
Adobe InDesign Image Placing help

Pixel images that have been captured by a digital camera or a scanner will always start off as RGB images (Red, Green, Blue). Vector drawn images can be set to use the RGB or CMYK colour mode.
If an RGB image is to be used in commercial printing it is typically converted to the ink colours CMYK (Cyan, Magenta, Yellow and Black) when outputting.
The actual colour that any RGB or CMYK describes depends on many variables such as the type and setup of screen when viewing RGB images and the ink, paper and light source used when viewing CMYK images.
In the past the common advice was to convert images to CMYK prior to placing on the page but doing this too early can actually cause problems by:
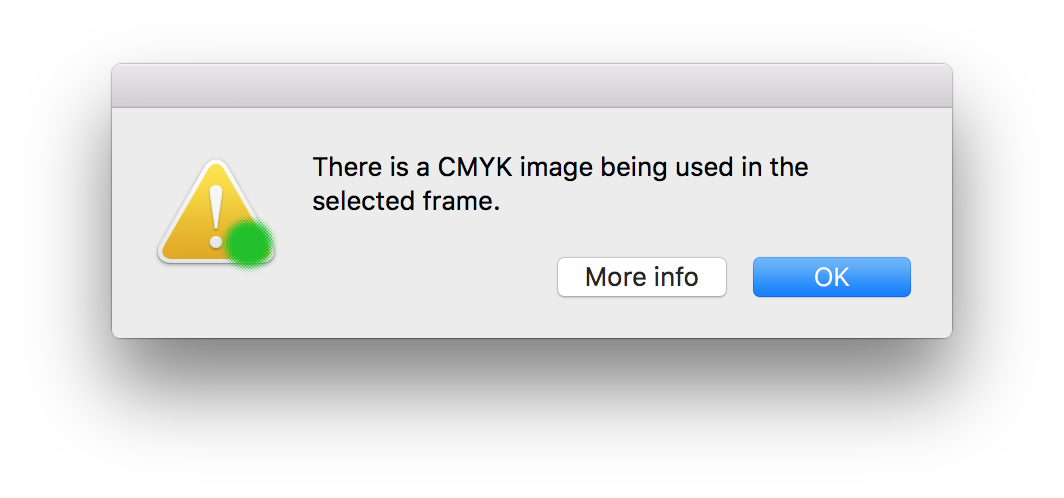
Fix this problem by using a RGB version of the same images or using an alternative image.
Tip: It is possible to switch on a Colour Space column in the Links Panel. (Window > Links). First choose Panel Options from the Links panel menu.
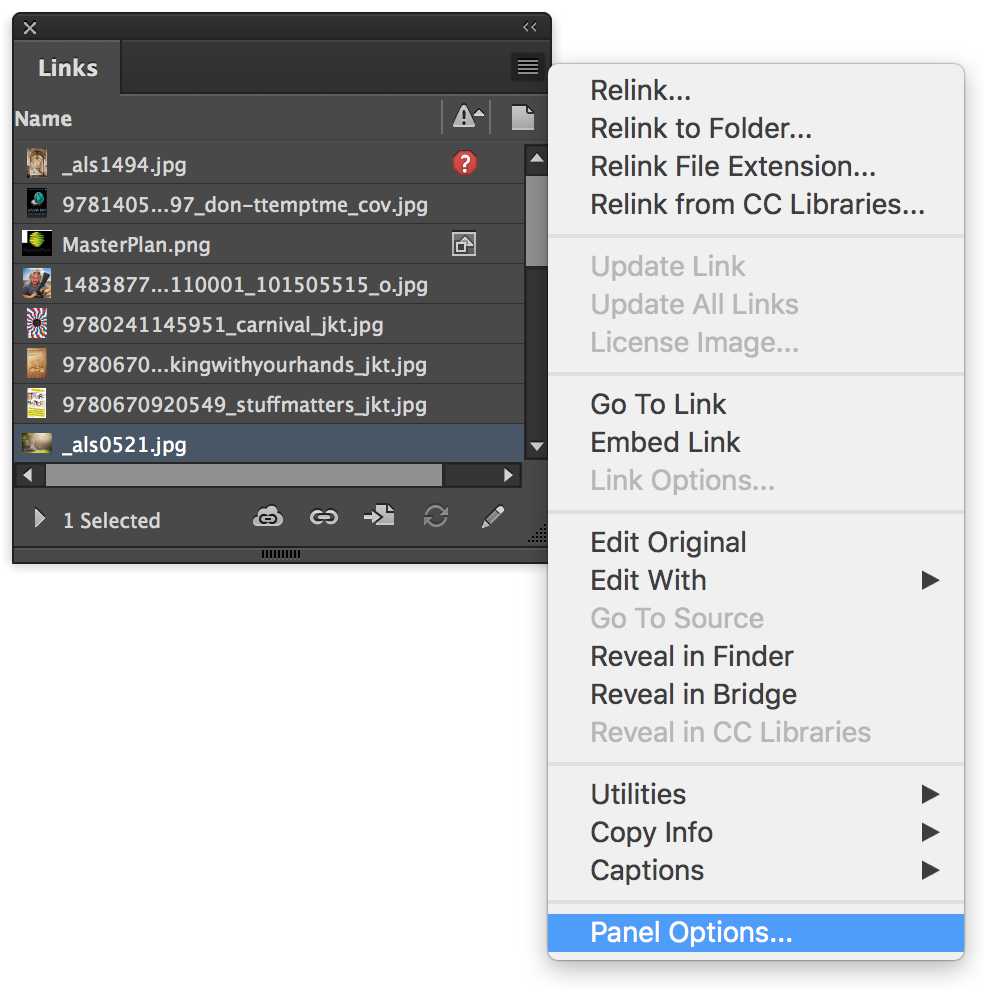
In the Panel Options dialog under the Show Column heading click the checkbox for Colour Space and click OK.
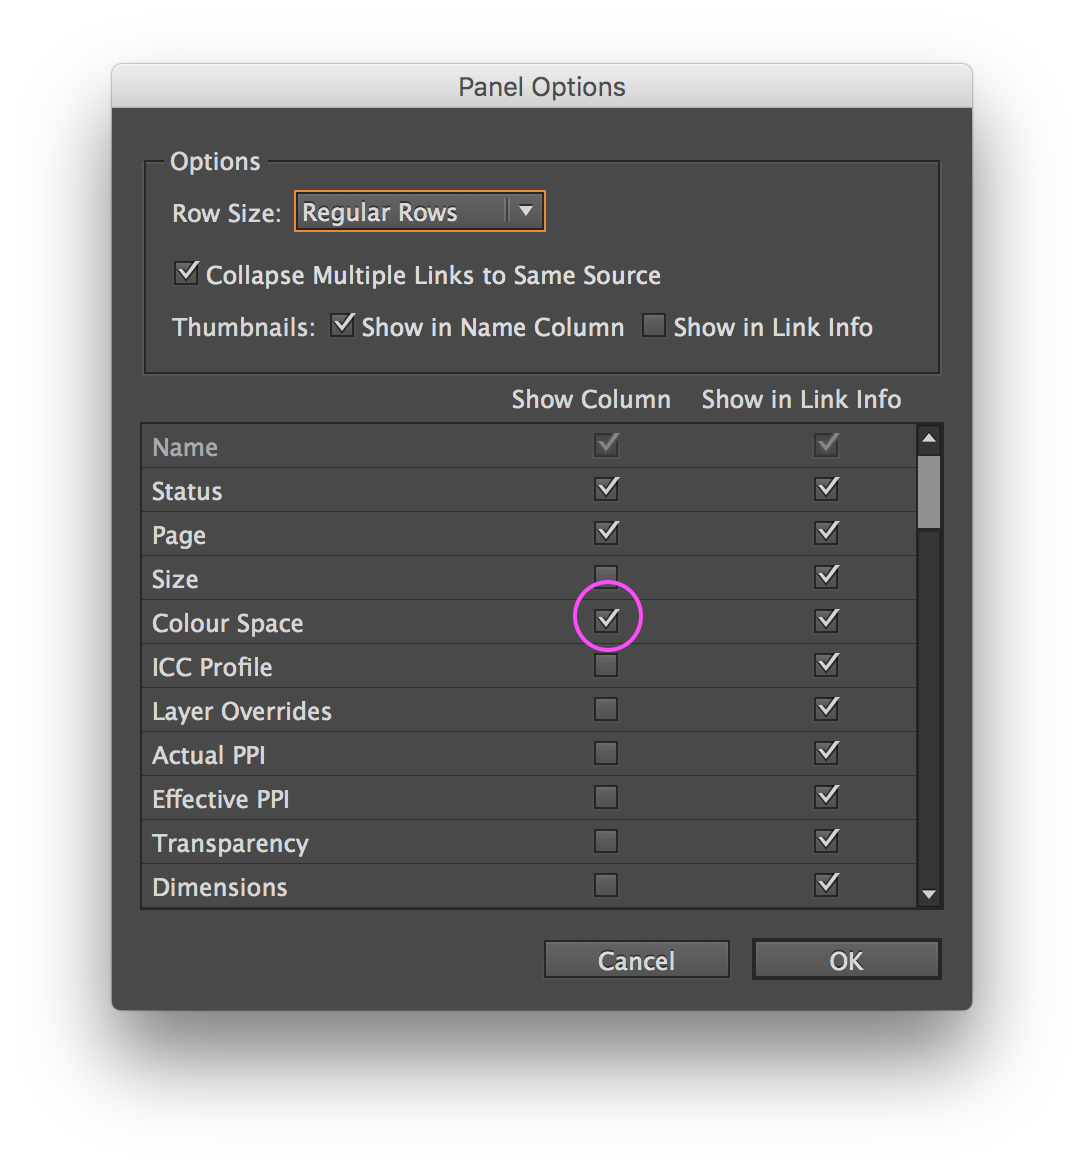
In the Links panel a new column appears indicating the Colour Space of pixel images. You may need to adjust the widths of the columns or panel itself to see all the information.


Pixel images that have been captured by a digital camera or a scanner will always start off as RGB images (Red, Green, Blue). Vector drawn images can also be set to use the RGB colour mode.
If an RGB image is to be used in commercial printing it is typically converted to the ink colours CMYK (Cyan, Magenta, Yellow and Black) when outputting.
The actual colour that any RGB or CMYK describes depends on many variables such as the type and setup of screen when viewing RGB images and the ink, paper and light source used when viewing CMYK images.
Unless you are working in a colour managed workflow the movement between RGB and CMYK can cause unexpected and disappointing results and one way around this is to insist that all images are converted to CMYK in the same way before they reach the InDesign page.
Fix this problem by using a CMYK version of the same images or using an alternative image.
Tip: It is possible to switch on a Colour Space column in the Links Panel. (InDesign Window menu > Links). First choose Panel Options from the Links panel menu.

In the Panel Options dialog under the Show Column heading click the checkbox for Colour Space and click OK.

In the Links panel a new column appears indicating the Colour Space of pixel images. You may need to adjust the widths of the columns or panel itself to see all the information.


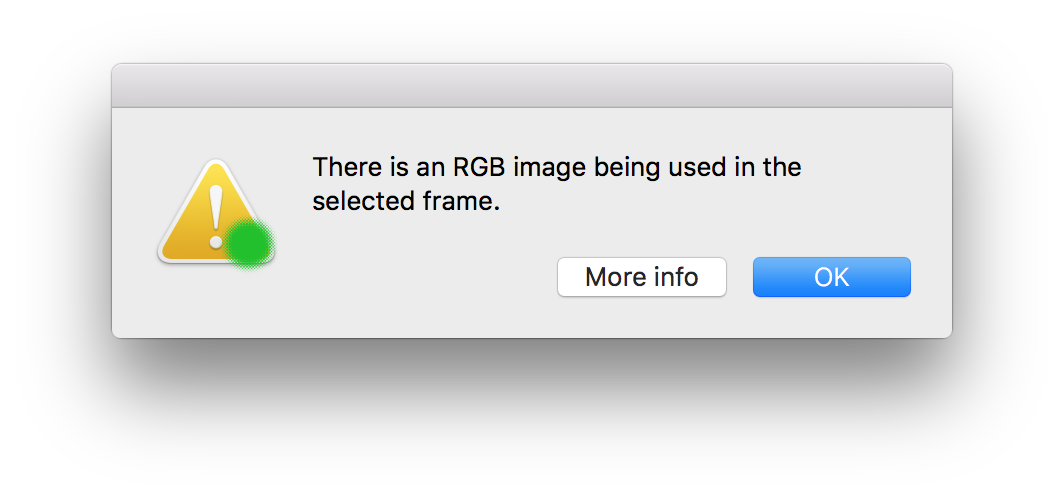
This check reports when the colour space used in any placed images, that are not on a NOTES layer, is set to RGB.
Pixel images that have been captured by a digital camera or a scanner will always start off as RGB images (Red, Green, Blue). Vector drawn images can also be set to use the RGB colour mode.
If an RGB image is to be used in commercial printing it is typically converted to the ink colours CMYK (Cyan, Magenta, Yellow and Black) when outputting.
The actual colour that any RGB or CMYK describes depends on many variables such as the type and setup of screen when viewing RGB images and the ink, paper and light source used when viewing CMYK images.
Unless you are working in a colour managed workflow the movement between RGB and CMYK can cause unexpected and disappointing results and one way around this is to insist that all images are converted to CMYK in the same way before they reach the InDesign page.

Fix this problem by using a CMYK version of the same images or using an alternative image.
Alternatively, if the image is not required in output, then moving an RGB image to a layer whose name starts with the word NOTES with also pass this check. This can be especially useful when working with a backlist.
Tip: It is possible to switch on a Colour Space column in the Links Panel. (Window > Links). First choose Panel Options from the Links panel menu.

In the Panel Options dialog under the Show Column heading click the checkbox for Colour Space and click OK.

In the Links panel a new column appears indicating the Colour Space of pixel images. You may need to adjust the widths of the columns or panel itself to see all the information.
