Getting Started with GreenLight

Get downloaded, installed, and up and running with all versions of GreenLight.

Adding GreenLight settings to your Mac

Getting Started with GreenLight
Quickly adding presets and settings files to your Mac.

GreenLight contains all the recommended and required settings files it needs and can quickly add them to the correct positions on any user's Mac. The settings files consist of:

  • Publisher specific PDF presets
  • Various Colour Management settings (ICC, CSF, PSF)
  • Various InDesign settings (Shortcuts, scripts, Find/Changes)

These standard setting are pushed out the first time GreenLight is launched and can be re-added by choosing GreenLight Set-up menu > Add [Publisher] Settings to this Mac.

On completion a dialog will advise that the Mac is now set up and that you will need to restart InDesign before running exports with GreenLight.

The Add Greenlight Settings dialog confirming the Mac is now set up and InDesign needs restarting
Read full article
Getting Started with GreenLight

Color Profile Permissions

Getting Started with GreenLight
GreenLight PRO and Custom users may need extra help adding print settings to their Mac.

In most cases, running step 5 of the GreenLight Set-up & Instalation article will push all the required colour settings to your Mac.

However, if you still see a message about colour settings not being present after completing this, please follow these extra few steps.

  1. In the Mac Finder Go Menu choose 'Go to Folder' and type or paste in this exact line /Library/Application Support/Adobe/Color/Profiles
  2. With the Profiles folder selected, choose Finder File menu > Get Info.
  3. In the Sharing & Permissions section, click the padlock, entering the Mac admin password if required then assign Read & Write privileges to everyone.
  4. Choose to Apply to enclosed items… as shown
The Profiles folder is shown with Reads & Write privileges added for everyone

Return to GreenLight and choose to Add GreenLight settings to your Mac then, finally, restart InDesign when prompted.

You will now be able to return to GreenLight and with the correct colour settings in place.

Read full article
Getting Started with GreenLight

File Creation Policy

Getting Started with GreenLight
A central page that outlines how files are prepared for a GreenLight Custom publisher.

For GreenLight Custom users, an online File Creation Policy page outlines how files are prepared for a particular publisher.

The File Creation Policy covers topics such as Filenaming, File Structure, Colour Management etc. in depth.

The File Creation Policy is held online and can be accessed directly from the GreenLight Custom client page and can be accessed through the GreenLight Custom Help menu.

Read full article
Getting Started with GreenLight

GreenLight Set-up and Installation

Getting Started with GreenLight
Quickly get the GreenLight app and settings up and running on your Mac.

Some GreenLight Custom users can expect to have GreenLight installed by their internal IT department.

Other InDesign users, including suppliers and freelancers that have been invited to use GreenLight Custom, please follow these steps to get up and running:
  1. Download the GreenLight application to your Mac.
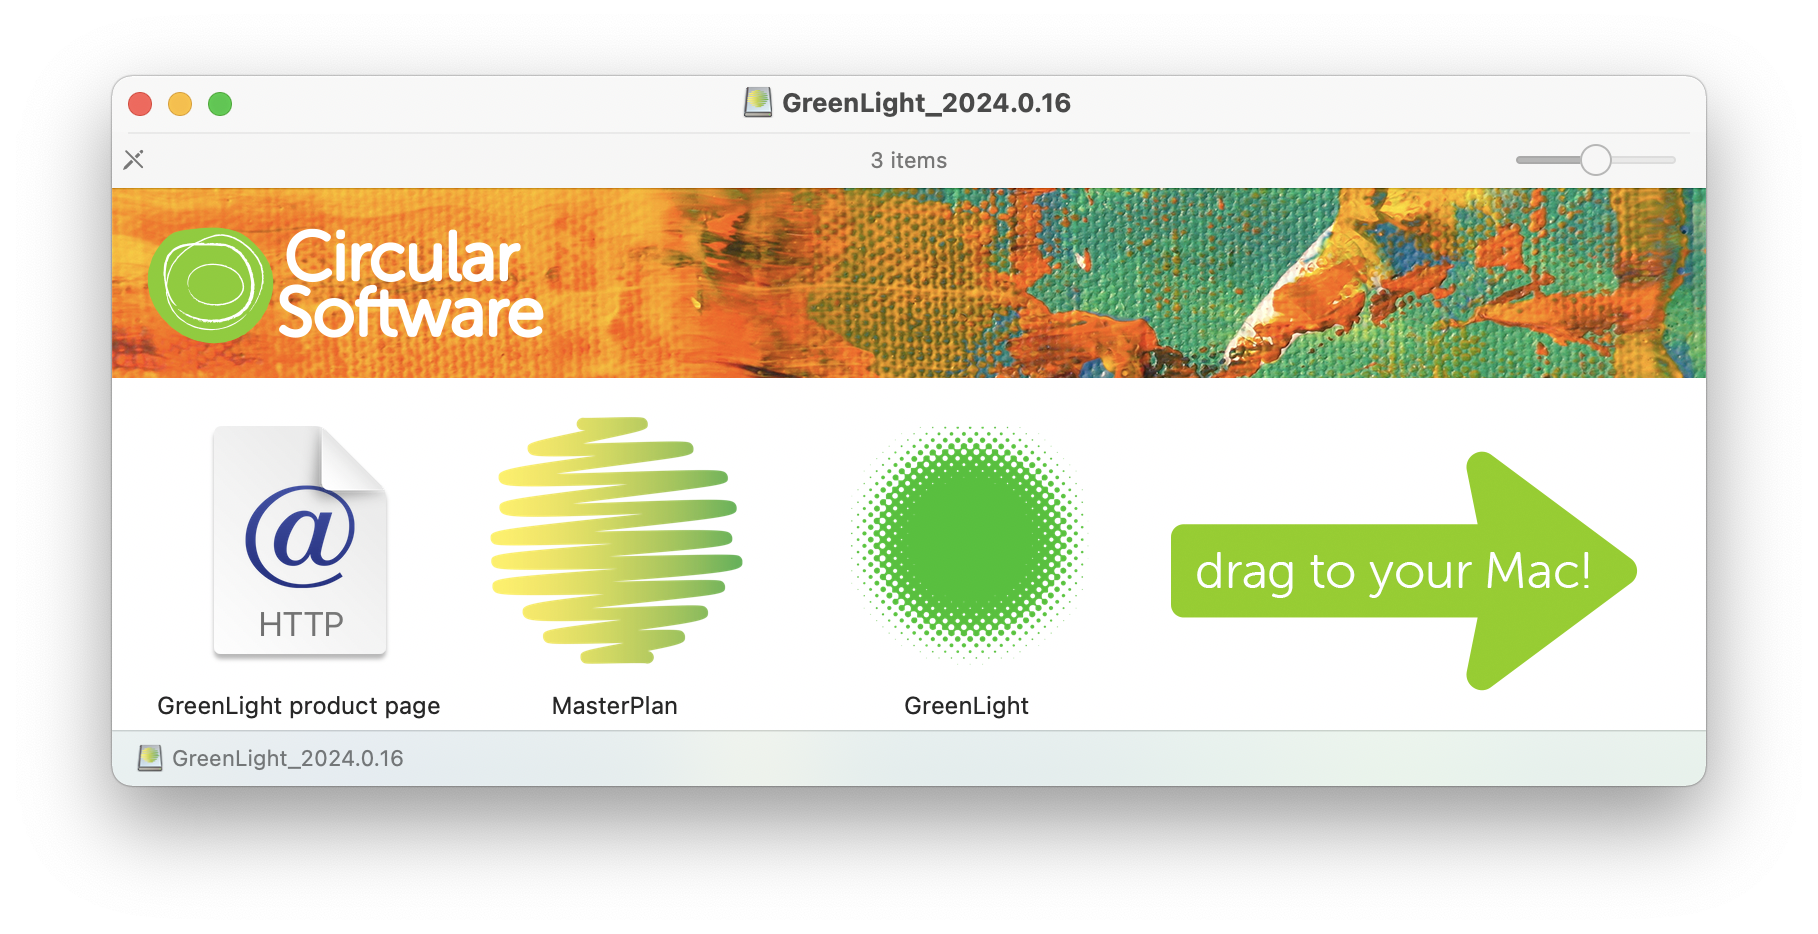
  2. Once downloaded, double-click the .dmg (disk image) file to open it.
  3. Drag the GreenLight application to your preferred location on your Mac (we recommend your main ‘Applications’ folder but GreenLight will run from anywhere).
  4. Once GreenLight has been copied to your Mac, double click it to launch for the first time.
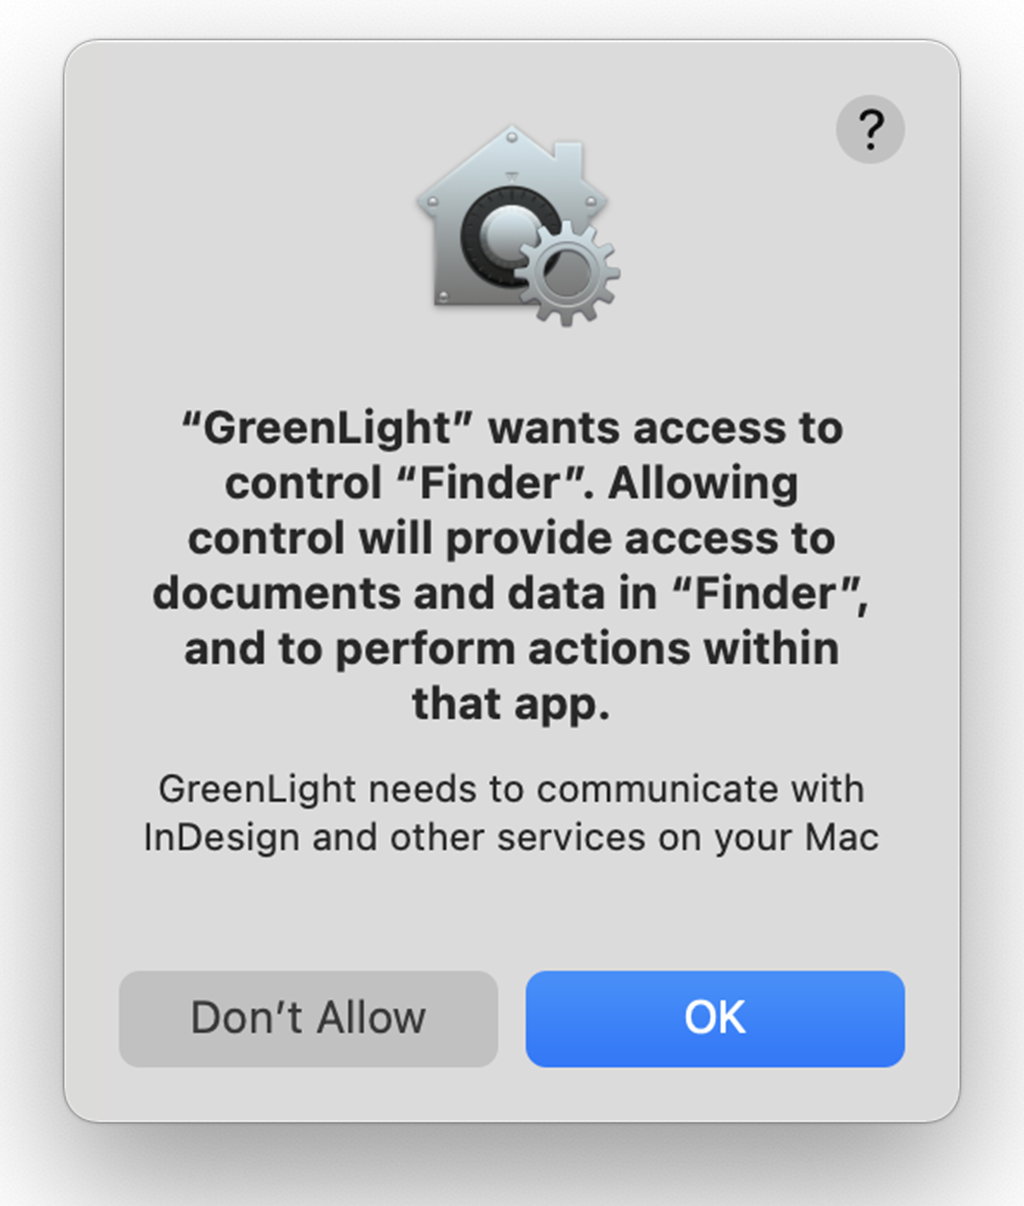
  5. Where requested you will need to [Grant permissions in macOS] for GreenLight to run.
    Restart InDesign before using  GreenLight.
GreenLight’s Installation window. We recommend dragging GreenLight to your Applications folder.
A macOS dialog requesting permission to run GreenLight
  • After installing, you may also wish to drag GreenLight to your Dock to quickly access it at any time.
Read full article
Getting Started with GreenLight